Section: 29
Hours: 5
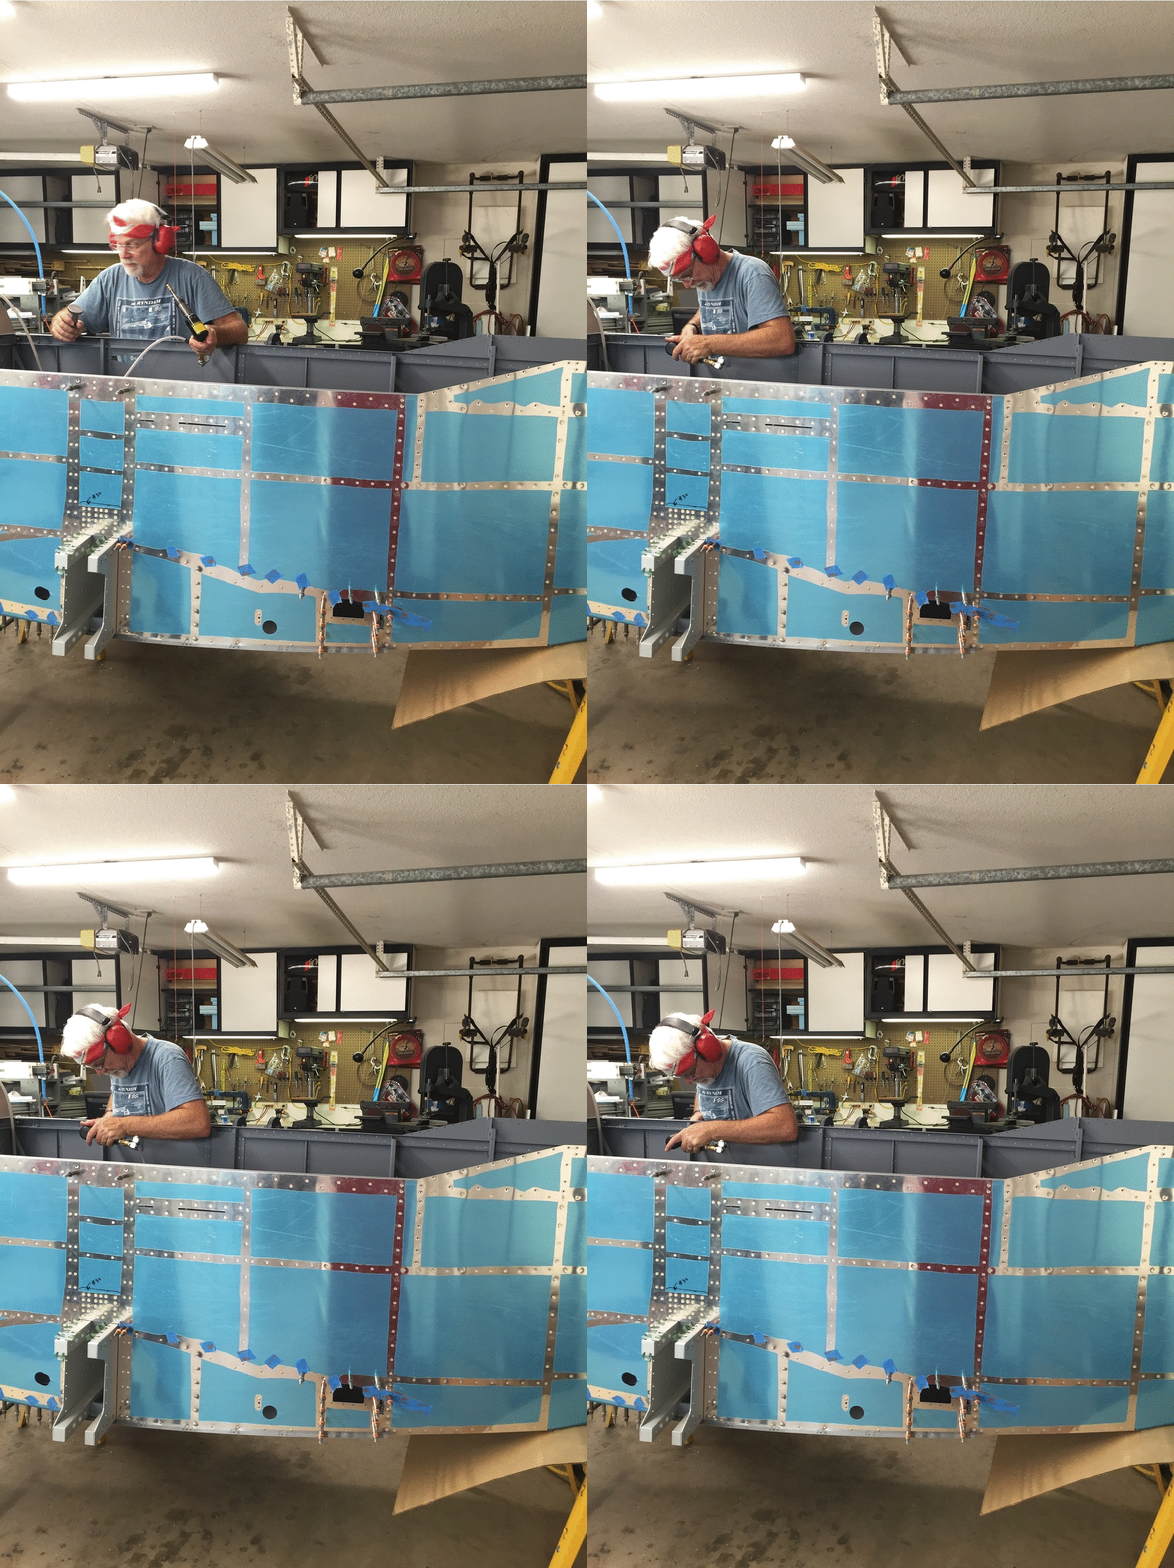
I had skipped installing the air vents so I decided that would be a good project for today. I trimmed the edges per instructions in the manual. There were scribe lines on the back of the plastic that were in the correct location for the top and I used that line as a reference for squaring off the tail. I trimmed for 1 left and 1 right vent setup. I cut using my bandsaw and sanded the edges and flattened the back using my belt sander. You have to use light pressure when sanding otherwise the surface will heat up and the plastic melts. I used a single edge razor to scrape the edges for a nice smooth finish.
The manual suggests mating and adjusting the flange on the airplane, but I found it was helpful to first clamp using a flat surface and then check for fit on the fuselage sidewall. I had to adjust the bend in the flange a little to get an optimal fit.
I ordered the aluminum ($$$) version of the vents because they close better than the plastic ones provided with the kit. I very carefully trimmed one corner of each vent to match the support flange. Here are the assemblies screwed together. I won't install these until I prime and paint to match the rest of the cockpit.
Disclaimer: This blog is to provide others insight into my experience and for my own historical purposes. Airplane construction is a serious affair. I have no authoritative skills relating to airplane construction. As such, any use of the information contained on this blog is at your own risk.
Showing posts with label Section 29. Show all posts
Saturday, May 5, 2018
Friday, August 26, 2016
Section: 29
Hours: 7
I assembled the seat back frame and attached it to the fuselage today.
I was able to squeeze all the rivets on the frame assembly which made it easy.
The manual specifies that you temporarily bolt the roll bar base before riveting the gusset to the upper longeron. That doesn't work out very for 2 of the flush rivets which fall under or right next to the base. I unbolted the base, shot the 2 rivets and then bolted it on again.
The right side went faster after figuring out the left side. Most of these rivets are difficult to view the shop head side- I held the bucking bar and set them by feel and then inspected them with a mirror.
Here's the rivets that attach the seat brace to the bulkhead side brace.
It was a real squeeze getting the nuts on the roll bar base bolts once the intercostal was installed. I could not figure out how to get a torque wrench on these nuts so I tightened by feel, erring towards over torquing.
Here is the seat back brace installed!
Hours: 7
I assembled the seat back frame and attached it to the fuselage today.
I was able to squeeze all the rivets on the frame assembly which made it easy.
The manual specifies that you temporarily bolt the roll bar base before riveting the gusset to the upper longeron. That doesn't work out very for 2 of the flush rivets which fall under or right next to the base. I unbolted the base, shot the 2 rivets and then bolted it on again.
The right side went faster after figuring out the left side. Most of these rivets are difficult to view the shop head side- I held the bucking bar and set them by feel and then inspected them with a mirror.
Here's the rivets that attach the seat brace to the bulkhead side brace.
It was a real squeeze getting the nuts on the roll bar base bolts once the intercostal was installed. I could not figure out how to get a torque wrench on these nuts so I tightened by feel, erring towards over torquing.
Here is the seat back brace installed!
Thursday, August 25, 2016
Wednesday, August 24, 2016
Section: 29
Hours: 4
I prepped the seat back brace and adjustment guides.
The pictures of the intercostal in the manual are a real Esher drawing- hard to tell which way is down in the 3d drawing. Here is a picture of how it fits together.
Hours: 4
I prepped the seat back brace and adjustment guides.
The pictures of the intercostal in the manual are a real Esher drawing- hard to tell which way is down in the 3d drawing. Here is a picture of how it fits together.
Tuesday, August 23, 2016
Section: 29
Hours: 7
I attached the root fairing attach angles to the right side of the fuselage today and it went a lot better than yesterday. I corrected the dimpling on the upper rear angle and did not install the front nut plate on the upper front angle. As a result, all the riveting went much smoother.
Here is the upper forward angle riveted on without the forward nut plate installed yet. It was much easier to reach the rivets without the nut plate in the way.
Here I've attached the nut plate after riveting to the side skin.
It was tough to rivet the forward rivet of the nut plate at the front of the upper rear angle.
I used an indirect riveting method to set the last rivet on the nut plate. I put my trusty titanium bucking bar on top of the rivet and held my small titanium bucking bar under the rivet and hit the upper bar with the rivet gun. Worked great!
The two CCR264SS-3-2 rivets in the upper corners of the flap block cutout seem somewhat flimsy and were hard to set flush using my pull rivet tool.
The rear two rivets on the upper angle are flush rivets. It really helped today that I had dimpled the angle in the correct direction before attaching it to the fuselage.
Hours: 7
I attached the root fairing attach angles to the right side of the fuselage today and it went a lot better than yesterday. I corrected the dimpling on the upper rear angle and did not install the front nut plate on the upper front angle. As a result, all the riveting went much smoother.
Here is the upper forward angle riveted on without the forward nut plate installed yet. It was much easier to reach the rivets without the nut plate in the way.
Here I've attached the nut plate after riveting to the side skin.
It was tough to rivet the forward rivet of the nut plate at the front of the upper rear angle.
I used an indirect riveting method to set the last rivet on the nut plate. I put my trusty titanium bucking bar on top of the rivet and held my small titanium bucking bar under the rivet and hit the upper bar with the rivet gun. Worked great!
The two CCR264SS-3-2 rivets in the upper corners of the flap block cutout seem somewhat flimsy and were hard to set flush using my pull rivet tool.
The rear two rivets on the upper angle are flush rivets. It really helped today that I had dimpled the angle in the correct direction before attaching it to the fuselage.
Monday, August 22, 2016
Section: 29
Hours: 8
Deb helped me set the rivets that join the side skin to the bottom forward skin.
Then I riveted in the web stiffeners.
Looking ahead, the fuel system for the RV-14 runs in from the wing roots directly under your knees and then up through the center tunnel to the firewall. I started thinking about having pressurized fuel lines running through the cabin and decided it would be worth while to invest in a well manufactured set of fuel lines. Aircraft Specialty has a retro fit fuel system available for the RV-14 that includes CNC bent lines with heavier 5052 aluminum and a flex braided line from the fuel pump to the firewall. The flex line should handle vibration and impact in case of a bad landing much better than the solid tubing provided by Van's. I ordered this kit and it was delivered today, only 4 days after ordering! The box that arrived was much smaller than I was expecting, but the tubing runs are not that long. Everything looks well fabricated.
I spent all afternoon attaching the wing root faring attach angles. It took much longer than I expected because I had dimpled several holes forward the back of the top rear angle the wrong direction and didn't discover the error until I had already shot a bunch of rivets in it. I had to drill them all out and correct the dimpling and then do it over again. I also had a lot of problems setting a rivet in the upper forward attach angle because the nut plate made access to the rivet impossible. After two tries I gave up and removed the nut plate, easily set the rivet into the fuselage side and then reinstalled the nut plate. Live and learn...
Hours: 8
Deb helped me set the rivets that join the side skin to the bottom forward skin.
Then I riveted in the web stiffeners.
Looking ahead, the fuel system for the RV-14 runs in from the wing roots directly under your knees and then up through the center tunnel to the firewall. I started thinking about having pressurized fuel lines running through the cabin and decided it would be worth while to invest in a well manufactured set of fuel lines. Aircraft Specialty has a retro fit fuel system available for the RV-14 that includes CNC bent lines with heavier 5052 aluminum and a flex braided line from the fuel pump to the firewall. The flex line should handle vibration and impact in case of a bad landing much better than the solid tubing provided by Van's. I ordered this kit and it was delivered today, only 4 days after ordering! The box that arrived was much smaller than I was expecting, but the tubing runs are not that long. Everything looks well fabricated.
I spent all afternoon attaching the wing root faring attach angles. It took much longer than I expected because I had dimpled several holes forward the back of the top rear angle the wrong direction and didn't discover the error until I had already shot a bunch of rivets in it. I had to drill them all out and correct the dimpling and then do it over again. I also had a lot of problems setting a rivet in the upper forward attach angle because the nut plate made access to the rivet impossible. After two tries I gave up and removed the nut plate, easily set the rivet into the fuselage side and then reinstalled the nut plate. Live and learn...
Saturday, August 20, 2016
Section: 29
Hours: 7
I made good progress on the fuselage today. I installed the forward bulkheads/stiffeners, the center section stiffener, the arm rest and the flap block bracket. Again, I did a lot of back riveting but there were some pull rivets and other types- a variety.
Pull rivets are used since you can't reach the inside of the stiffener. It was difficult getting the pull rivet puller on the top rivet- not much clearance available. I found it helped to first insert the rivet and then slide the pull tool onto the rivet tail for this one.
The rear section of the arm rest is too wide for the back rivet set to reach so I used the mushroom set on the outside and a bucking bar for those. I was able to back rivet the forward section. In looking at the finished rivets, I don't think there is much difference in the finish provided by either method.
I had to slightly enlarge the top and bottom notches in the F-01402 side frames to get them to fit. Also, my kit came with 2 left frames- I called Vans and they shipped out a right frame and I got it within a couple days- great service!
I finished up today installing the flap block brackets. Before I installed the brackets I had to install the 6 small AN470AD3-3 round head rivets around the square opening. It hadn't been clear when those were supposed to be installed, but it became obvious I would not be able to rivet them once the bracket was installed.
I now put a piece of rivet tape over each round head rivet to protect the manufactured head while riveting.
Hours: 7
I made good progress on the fuselage today. I installed the forward bulkheads/stiffeners, the center section stiffener, the arm rest and the flap block bracket. Again, I did a lot of back riveting but there were some pull rivets and other types- a variety.
You bend the center section stiffener by lining up the relief cuts on the edge of the bench and then apply gentile force with your hands to form the slight crease.
Pull rivets are used since you can't reach the inside of the stiffener. It was difficult getting the pull rivet puller on the top rivet- not much clearance available. I found it helped to first insert the rivet and then slide the pull tool onto the rivet tail for this one.
The rear section of the arm rest is too wide for the back rivet set to reach so I used the mushroom set on the outside and a bucking bar for those. I was able to back rivet the forward section. In looking at the finished rivets, I don't think there is much difference in the finish provided by either method.
I had to slightly enlarge the top and bottom notches in the F-01402 side frames to get them to fit. Also, my kit came with 2 left frames- I called Vans and they shipped out a right frame and I got it within a couple days- great service!
I finished up today installing the flap block brackets. Before I installed the brackets I had to install the 6 small AN470AD3-3 round head rivets around the square opening. It hadn't been clear when those were supposed to be installed, but it became obvious I would not be able to rivet them once the bracket was installed.
I now put a piece of rivet tape over each round head rivet to protect the manufactured head while riveting.
Friday, August 19, 2016
Thursday, August 18, 2016
Section: 29
Hours: 8
I put in a full day and completed most of the rivets from the center section forward on both sides.
I started out by mixing up another batch of ProSeal to seal the forward edges of the side skins to the firewall and the upper longeron front section.
I was able to back rivet all of the upper longeron using the back riveting bucking bar.
The lower longeron gets both cherry max pull rivets and AN426AD4's. The drawing for the rivet layout specified 7 length rivets, but when I measured them they were too short. I ended up using 8's
I finished up the day squeezing rivets into the hinge line on the firewall. This was the easiest riveting job of the day!
Here's the various rivets and tools I used today. Lots of variety!
Hours: 8
I put in a full day and completed most of the rivets from the center section forward on both sides.
I started out by mixing up another batch of ProSeal to seal the forward edges of the side skins to the firewall and the upper longeron front section.
I was able to back rivet all of the upper longeron using the back riveting bucking bar.
The lower longeron gets both cherry max pull rivets and AN426AD4's. The drawing for the rivet layout specified 7 length rivets, but when I measured them they were too short. I ended up using 8's
I finished up the day squeezing rivets into the hinge line on the firewall. This was the easiest riveting job of the day!
Here's the various rivets and tools I used today. Lots of variety!
Wednesday, August 17, 2016
Section: 29
Hours: 6
I riveted from the center back on the right skin of the fuselage. I drilled out far fewer rivets today after learning on the left side.
I bumped the air pressure up to 65psi and used the "RV-14 special bucking bar" back side to buck the round head rivets next to the sub spars. It was easier to hold than the small tungsten bar I used yesterday and it's larger mass helped to rapidly set the rivets.
Hours: 6
I riveted from the center back on the right skin of the fuselage. I drilled out far fewer rivets today after learning on the left side.
I bumped the air pressure up to 65psi and used the "RV-14 special bucking bar" back side to buck the round head rivets next to the sub spars. It was easier to hold than the small tungsten bar I used yesterday and it's larger mass helped to rapidly set the rivets.
Tuesday, August 16, 2016
Section: 29
Hours: 4
I continued working on riveting the fuselage side skins to the structural frames. I riveted most of the rivets to the rear of the spars on the left side.
I ended up with smilies on several of the round head rivets next to the sub spars which I drilled out and re riveted more carefully. I had to use the long bent stick in the rivet gun to reach the rivets next to the spars and found it hard to control single handed while holding the bucking bar on the inside of the fuselage with my other hand.
It was a tight fit reaching in with the bucking bar because of the seat ribs.
Hours: 4
I continued working on riveting the fuselage side skins to the structural frames. I riveted most of the rivets to the rear of the spars on the left side.
I ended up with smilies on several of the round head rivets next to the sub spars which I drilled out and re riveted more carefully. I had to use the long bent stick in the rivet gun to reach the rivets next to the spars and found it hard to control single handed while holding the bucking bar on the inside of the fuselage with my other hand.
It was a tight fit reaching in with the bucking bar because of the seat ribs.
Monday, August 15, 2016
Section: 29
Hours: 4
Today I worked on riveting the side skins from the center section going to the back. Lots of rivets and it was very hot in the garage today. Per instructions in the manual, I've been setting these rivets using my back riveting bucking bar with good results.
The left with the canopy latch brackets.
Hours: 4
Today I worked on riveting the side skins from the center section going to the back. Lots of rivets and it was very hot in the garage today. Per instructions in the manual, I've been setting these rivets using my back riveting bucking bar with good results.
The left with the canopy latch brackets.
Saturday, August 13, 2016
Section: 29
Hours: 5
FINALLY! Today was an assembly day!!! It seems like it took a long time to get to actually assembling parts- lots of parts to prep for the fuselage.
I started out easy, squeezing a couple rivets into the intercostal ribs and angle brackets. I had to use the rivet gun to set the rivets next to the flanges because I couldn't fit the squeezer in.
Then I back riveted on a couple stiffeners to the side skins. Much easier to back rivet these on now than when the side skins are in place on the fuselage.
I inserted the 7 and 8 length AN426-4 rivets and then laid the center section plate and upper drag fitting on top. The 7 length rivets looked too short the first time I did this and I discovered that the bag of 7 length rivets supplied from Vans were actually 6 length.
I've come across 2 bags of rivets improperly labeled in fuselage kit. I now regularly measure rivet lengths before riveting.
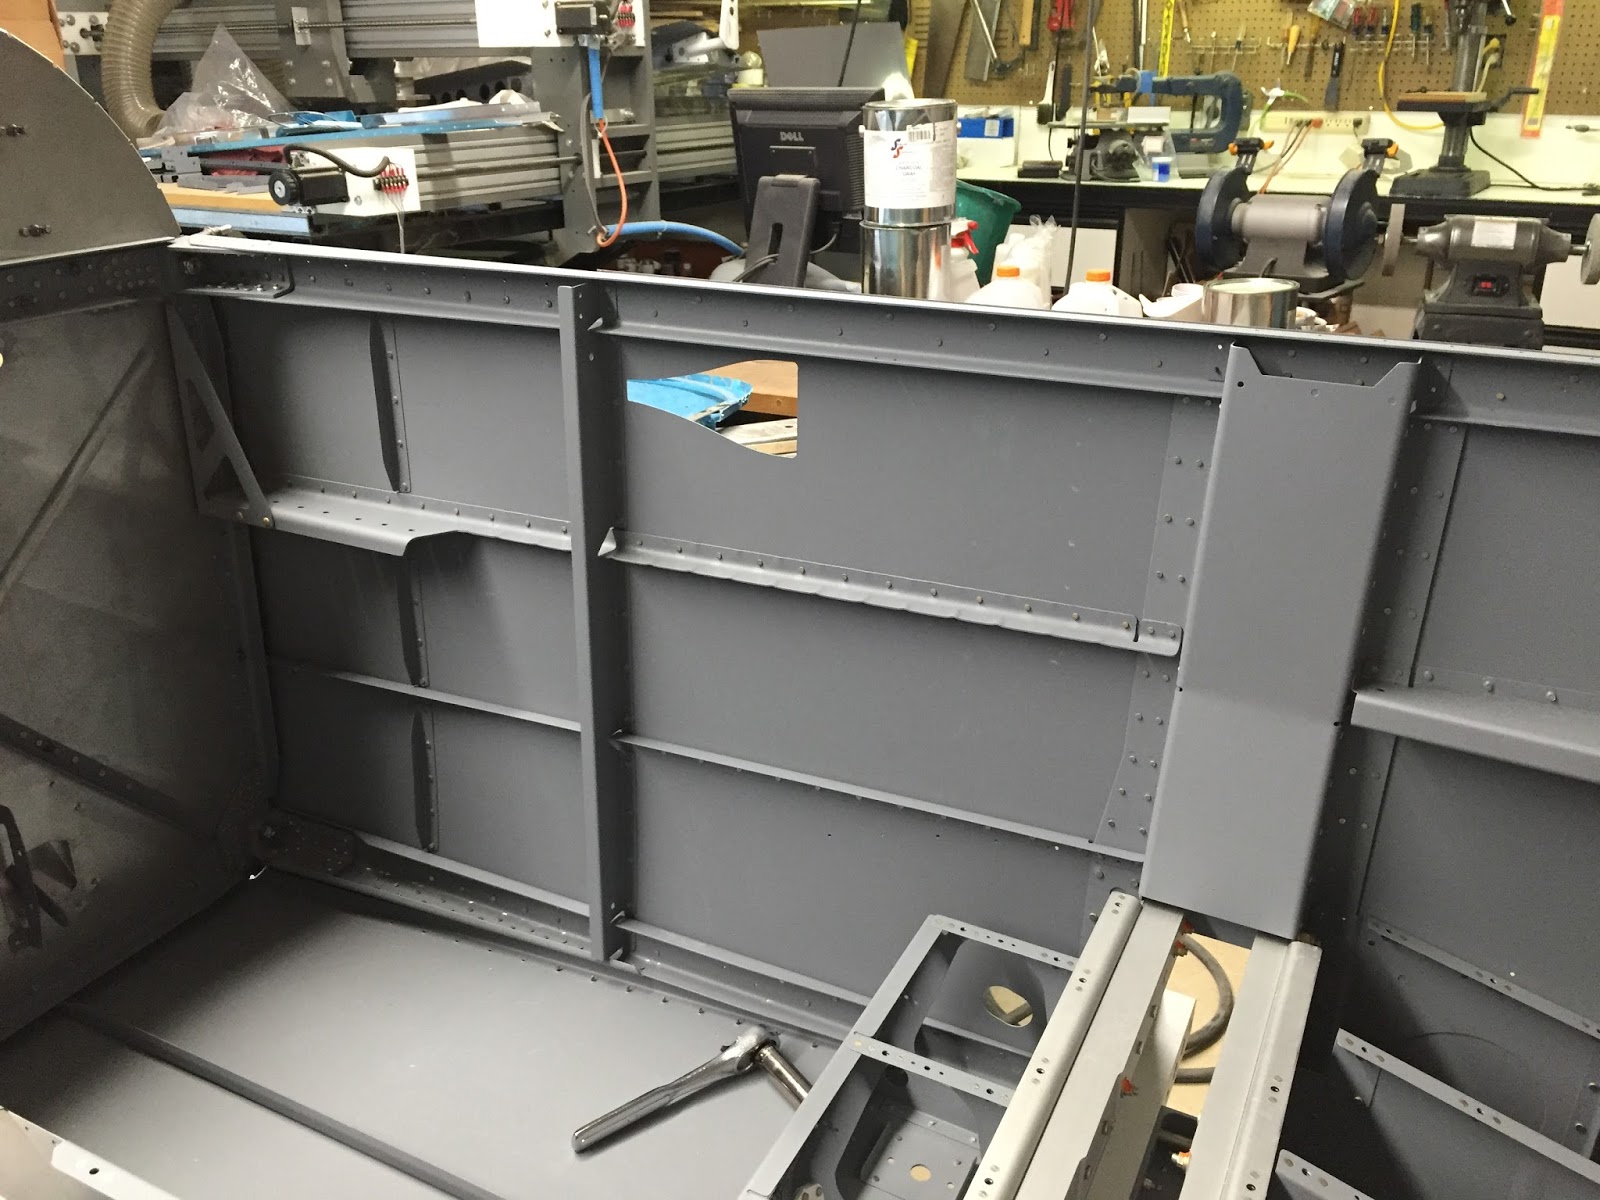
I spent the rest of the day clecoing the side skins in place and final torquing the bolts in the upper drag fittings. FINALLY making some visible progress.
Hours: 5
FINALLY! Today was an assembly day!!! It seems like it took a long time to get to actually assembling parts- lots of parts to prep for the fuselage.
I started out easy, squeezing a couple rivets into the intercostal ribs and angle brackets. I had to use the rivet gun to set the rivets next to the flanges because I couldn't fit the squeezer in.
Then I back riveted on a couple stiffeners to the side skins. Much easier to back rivet these on now than when the side skins are in place on the fuselage.
I inserted the 7 and 8 length AN426-4 rivets and then laid the center section plate and upper drag fitting on top. The 7 length rivets looked too short the first time I did this and I discovered that the bag of 7 length rivets supplied from Vans were actually 6 length.
I've come across 2 bags of rivets improperly labeled in fuselage kit. I now regularly measure rivet lengths before riveting.
I spent the rest of the day clecoing the side skins in place and final torquing the bolts in the upper drag fittings. FINALLY making some visible progress.
Subscribe to:
Posts (Atom)